Difference between revisions of "Folder style admin"
From OpenKM Documentation
(→Edit) |
|||
| Line 69: | Line 69: | ||
[[File:Okm_admin_094.png|center]] | [[File:Okm_admin_094.png|center]] | ||
| − | Finally ''' | + | Finally click on '''done''' button. |
| + | == Delete == | ||
| + | Click on the [[File:delete.gif]] '''delete icon''' | ||
| + | |||
| + | [[File:Okm_admin_086.png|center]] | ||
| + | |||
| + | [[File:Okm_admin_095.png|center]] | ||
| + | |||
| + | Finally click on '''delete''' button. | ||
| + | |||
| + | [[File:Okm_admin_096.png|center]] | ||
[[Category: Administration Guide]] | [[Category: Administration Guide]] | ||
Revision as of 16:53, 13 September 2013
Folder Style allows to change folder style icon.
Contents
Introduction
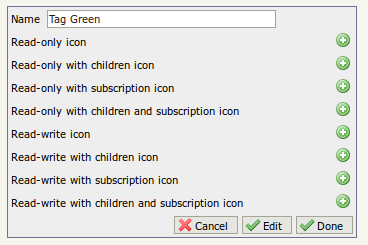
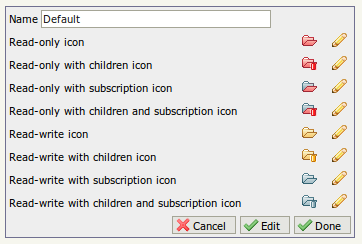
OpenKM take in consideration Folder style icon in concordance of folder status. For each folder status can be set a distinct icon.
There's a special Folder Style called "Default" which can not be deleted or renamed. This Folder Style is used by deafult for all folders in UI which does not have assigned any Folder Style.
| Important the size of the icon should be 16p x 16px to be shown correctly form OpenKM UI. |
Available folder status:
- Read-only with children icon
- Read-only with subscription icon
- Read-only with children and subscription icon
- Read-write icon
- Read-write with children icon
- Read-write with subscription icon
- Read-write with children and subscription icon
Create
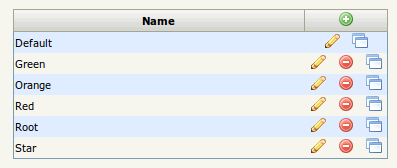
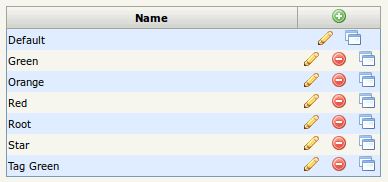
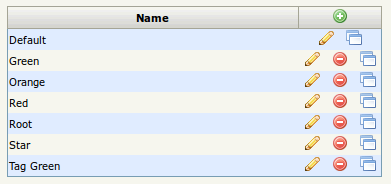
Folder Style administration option.
Then click on the ![]() new folder style icon
new folder style icon
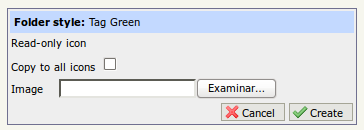
Fill the form and click create button.
| A new folder style has been created with empty icons. Meanwhile all icons will not be set, the new folder style will not be available from UI. |
Then click on the ![]() create icon until all icons will be set.
create icon until all icons will be set.
| The checkbox Copy to all icons can be used to set this icon for all icon status |
Finally click on done button.
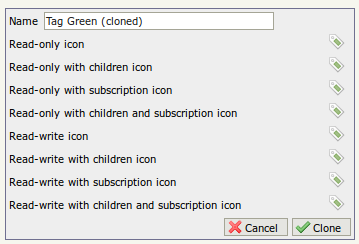
Clone
| Remember is not allowed to have two Folder Style with same name |
Click on clone button.
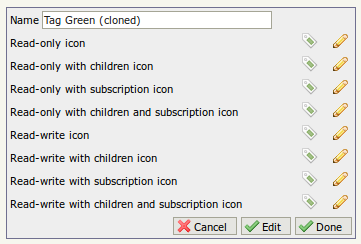
Finaly click on done button.
Edit
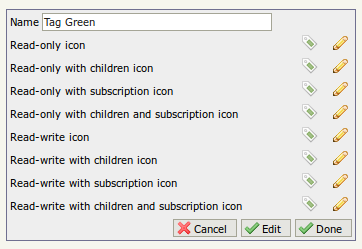
Change all icons as you wish.
Finally click on done button.
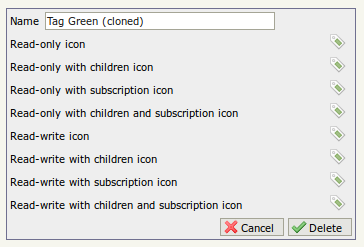
Delete
Finally click on delete button.

