OMR templates
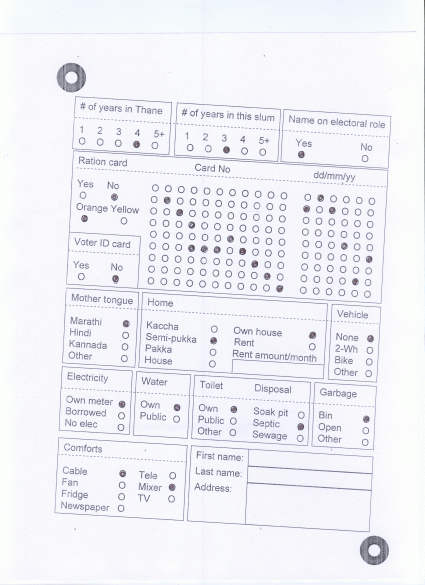
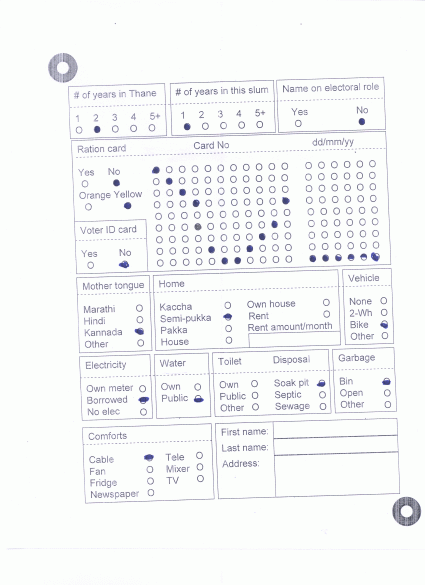
OMR ( Optimacl Mark Recognition ) engines is especially suited for extracting data from forms that have been photo-copied and then scanned; hence, the resultant images are likely to suffer from rotations, smudge marks, and random lines here and there. Examples of a few forms that the tool is able to handle with 100% accuracy are shown here.
Step 1 - Create template
- First make a form in powerpoint using the template File:Omr patterns.zip. Make sure that you do not move the two concentric circles in the top-left and bottom-right corners of the template. These are used by the software to determine the angle of rotation of the form.
- Take a printout and make as many photocopies of the form as you want.
- On the original printout, color all the marks with a black pen, and scan this marked up printout. Please be as careful as you can to align the printout so that there is no rotation. Some amount of error is fine, but not too much! We will call this scanned image the template, shown below.
File:2circle-org-colored-whole.gif
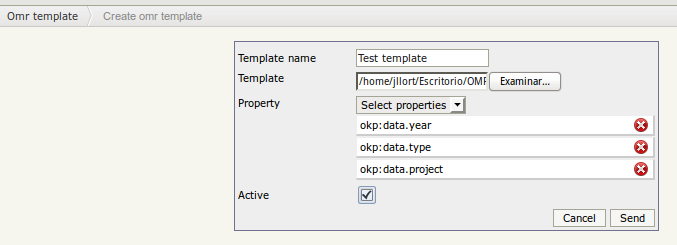
Step 2 - Upload template
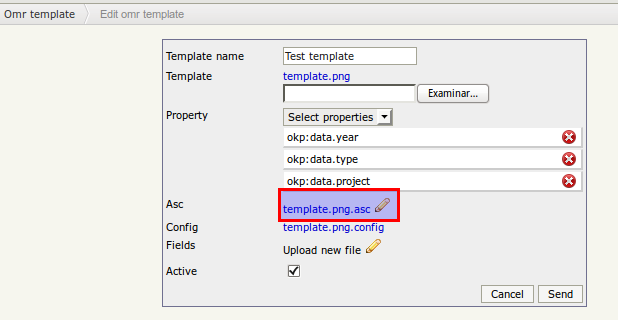
The training process will generate two files .asc and .config
Step 3 - Update asc file
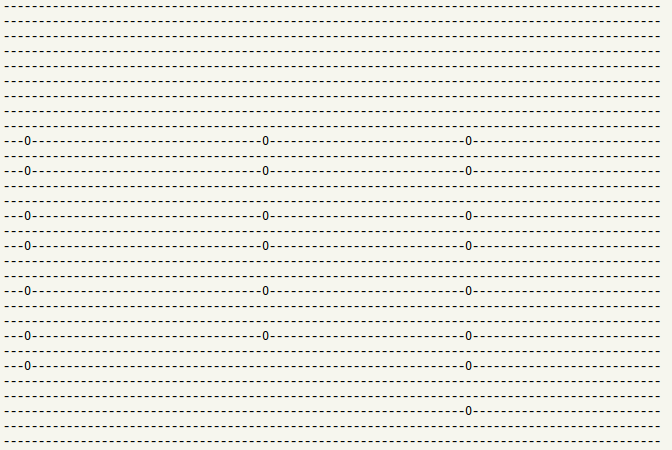
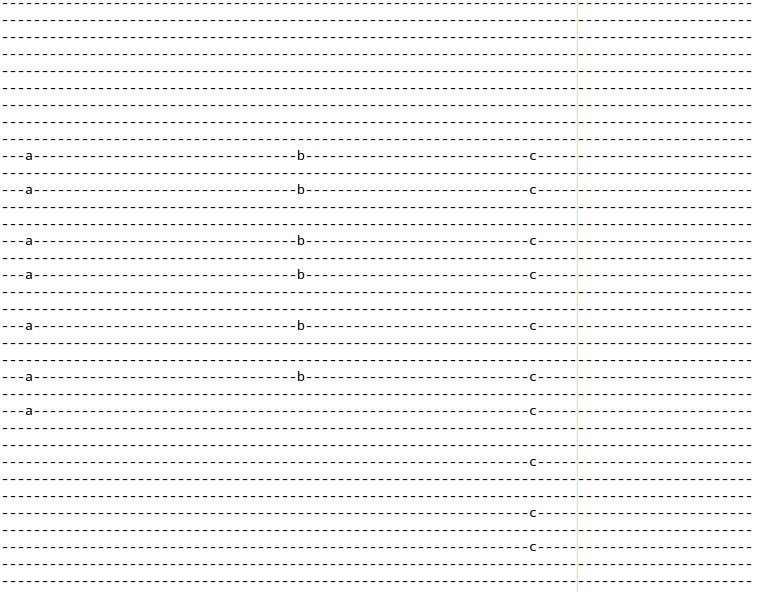
Download the .asc file and openkm with a standard text editor. This is actually an ascii representation of the template with all the marks marked with a '0', as shown below.
Some of the marks may not be exactly aligned, but don't worry. Now, very carefully, label the marks with single characters, by setting all the marks in the same group with the same character. This is shown below. In case you run out of alphabets, you can use numerals or any other character such as - + ? . etc. Make sure that you do not alter the position of any mark! This is agreably hard to do, but we chose this method to avoid the need for making a graphical frontend.
Click on edit button:
Click on edit asc file:
Select new file and click on send document.
